 Cart
Cart Hello, thank you for coming to our blog. This blog is for everyone that have passion for making jewelry but dont know how to start.
Cold connecting metal is the ideal starting place for beginning jewelry makers. Without having to solder or use a torch, you can create your pieces that you will be proud to wear. Once you learn some simple ways to join metal, you will be able to make your own wonderful jewelry, using tools that are inexpensive and readily available.
You can pierce and saw almost anything. Try using your jewelry skills on plastic, wood, found objects, and other natural materials. Look for materials that you thing are beautiful , and combine them with metal to make jewelry you will be pleased both to have designed and to wear.
Try to playful in our work, through playfulness comes a rich product and also the soul of a person will show in his or her work.
Metal is a wonderful material. There are many different types of nonferrous metals, metals not containing iron, that you can use to create your own jewelry. Some of jeweler mostly be working with brass, copper, 925 sterling silver and fine silver. But we should experiment with other metals too, such as stainless steel, iron or aluminium. These metals vary in color, and they can be mixed for interesting effects.
There are two ways of working with nonferrous metals. The first is called hot metal work, and the second is called cold metal work. Hot metal work uses a torch.
The tools for cold metal working are much less expensive than hot metal working. You can buy all of these tools at most jewelry supple stores and online. These are some of tools that you might need for :
1. Saw Frame and Saw Blades
Saw frame is one of the most important tools in jewelry making. Poor quality blades, though less expensive, often easily break. My suggestion is invest in good quality blades.

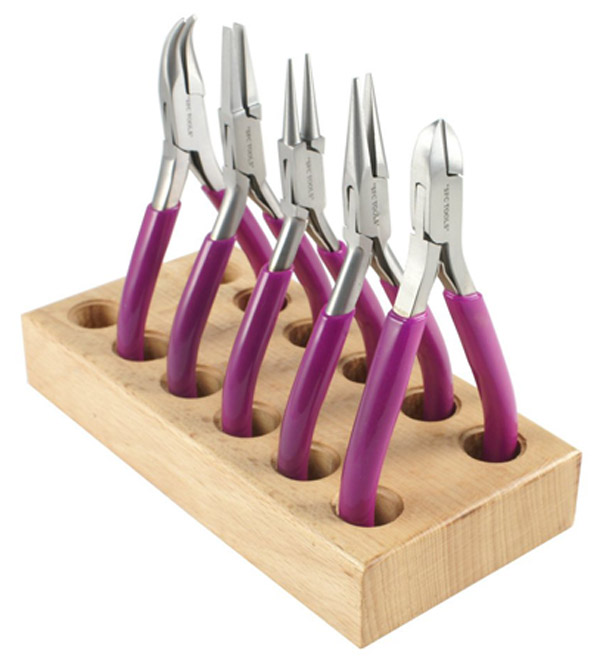
2. Pliers (Flat Nose, Chain Nose, Round Nose)
These pliers are shaped much as their names suggest. The flat nose pliers have two flat sides that meet on the inside and at a flat angle on the outside of the noses. Chain nose pliers are flat on the inside, round on the outside, and tapered almost to a point. Round nose pliers are round inside and out and taper to a point.
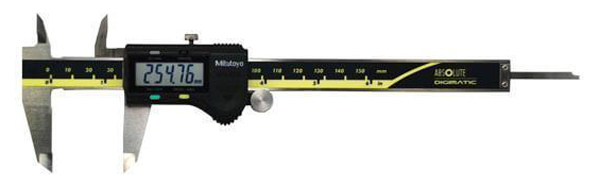
3. Digital Calipers
Digital calipers take precise measurements. We are more prefer digital calipers more than analog calipers because the readout is exact. Calipers are great for measuring wire diameters and sheet metal thicknesses. You also can lock digital calipers at a certain measurement, and then use them as a scribe.
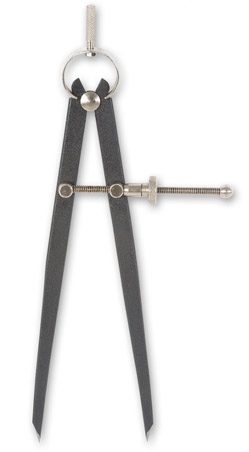
4. Separators
We will use separators to measure equal distances. We can find and purchase separators at machine stores, jewelry industry and online store.
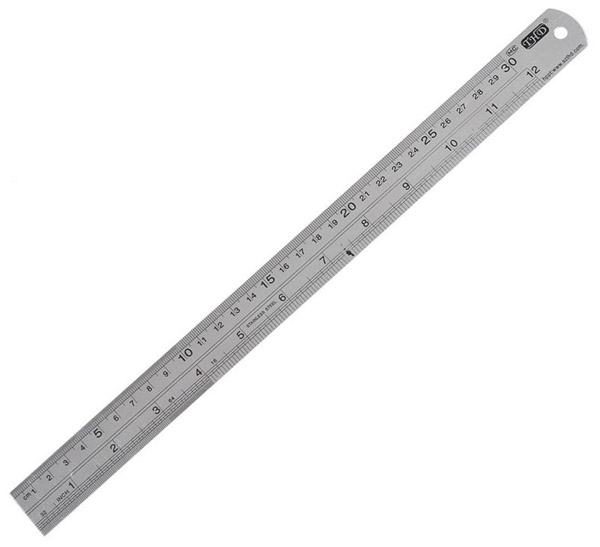
5. Stainless Steel Ruler
We should choose a stainless steel ruler that have a straight edge also indicate both inches and millimeters. Metric measurements are standard in jewelry making. Usually we are more convenient to count in millimeters also it is more precise.
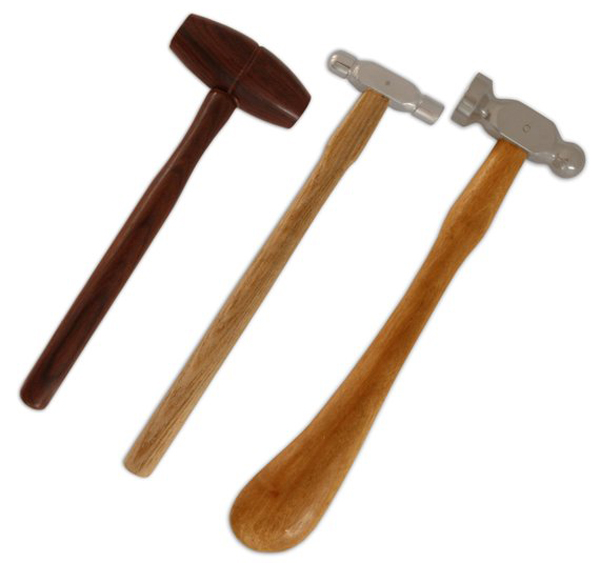
6. Chasing Hammer and Wooden Hammer
Chasing hammer is a hammerhead with one end shaped like a ball and the other end like a regular flat faced hammer. A chasing hammer is smaller than a regular hammer and is specially weighted for jewelry making.
Wooden hammer have large flat faced that good for forming metal without distorting the metal surface.
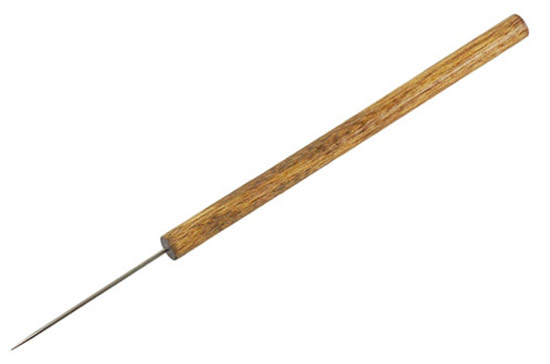
7. Scribe
A scribe is a pointed metal "pencil" we use to mark on metal. We can purchase a commercial scribe or make our own by filing the end of a hanger or nail to a sharp point.
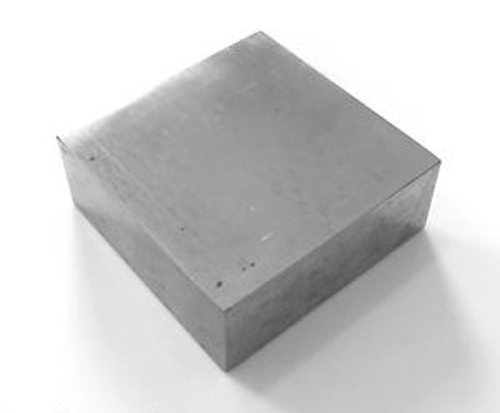
8. Steel Block.
When hammering metal, we will place it on top of a steel block. Any piece of flat, smooth, polished steel will work as a steel block, or we can buy a classic jeweler's steel block from any jewelry supply house.
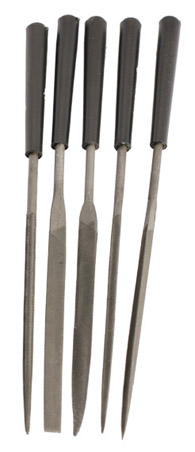
9. Needle Files
Needle files allow us to file in hard to reach places. These files are perfect to use on small metal jewelry parts. We can use the round, half round, square, triangular, and barette needle files. These files look exactly as their name suggest, except the barrette file, which is flat on one side with no teeth on the other triangular side. Files only remove metal on the forward stroke; the metal is simply scratched on the backward stroke, not removed.
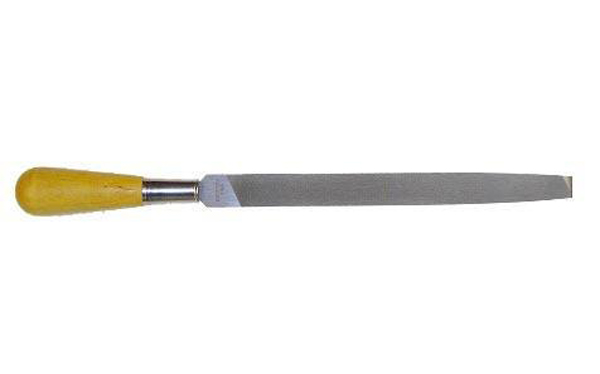
10. Bastard File
This is a large file we can buy for a reasonable price at any hardware store. It should be fairly coarse, but we should still be able to run our fingers along the file without catching our skin on its teeth.
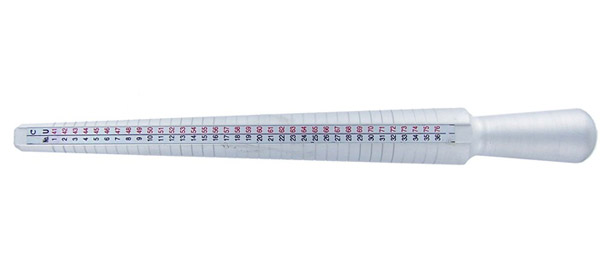
11. Mandrels
A mandrel is any form that we can wrap metal around. Some mandrels are tapered, such as ring and bracelet mandrels, while others are the same diameter for their whole length. We can use anything as a mandrel, even ordinary items we find around our house, such as a dowel or pencil. Ring and bracelet mandrels are available through jewelry supply houses.
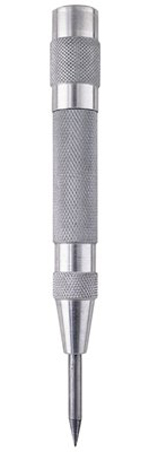
12. Center Punch
This can be any kind of tool with a point on one end and a flat surface to hammer on the other. We will use a center punch for making dimples, the small indentations made on metal prior to drilling. Dimples also can be decorative marks.
13. Sandpaper
The type of sandpaper that works best on metal is called wet / dry sandpaper. It is helpful to remember that the higher the number, the finer the grit. Jewelers most often use 220 and 400 grit paper.

And if you have a chance to visit Indonesia, you can try some of our course for beginner. Check out our course on here : http://www.artisticaindo.com/silver-course/
Have a wonderful day, cheer up...